


Southern Hemisphere Weekly Snow Roundup #325
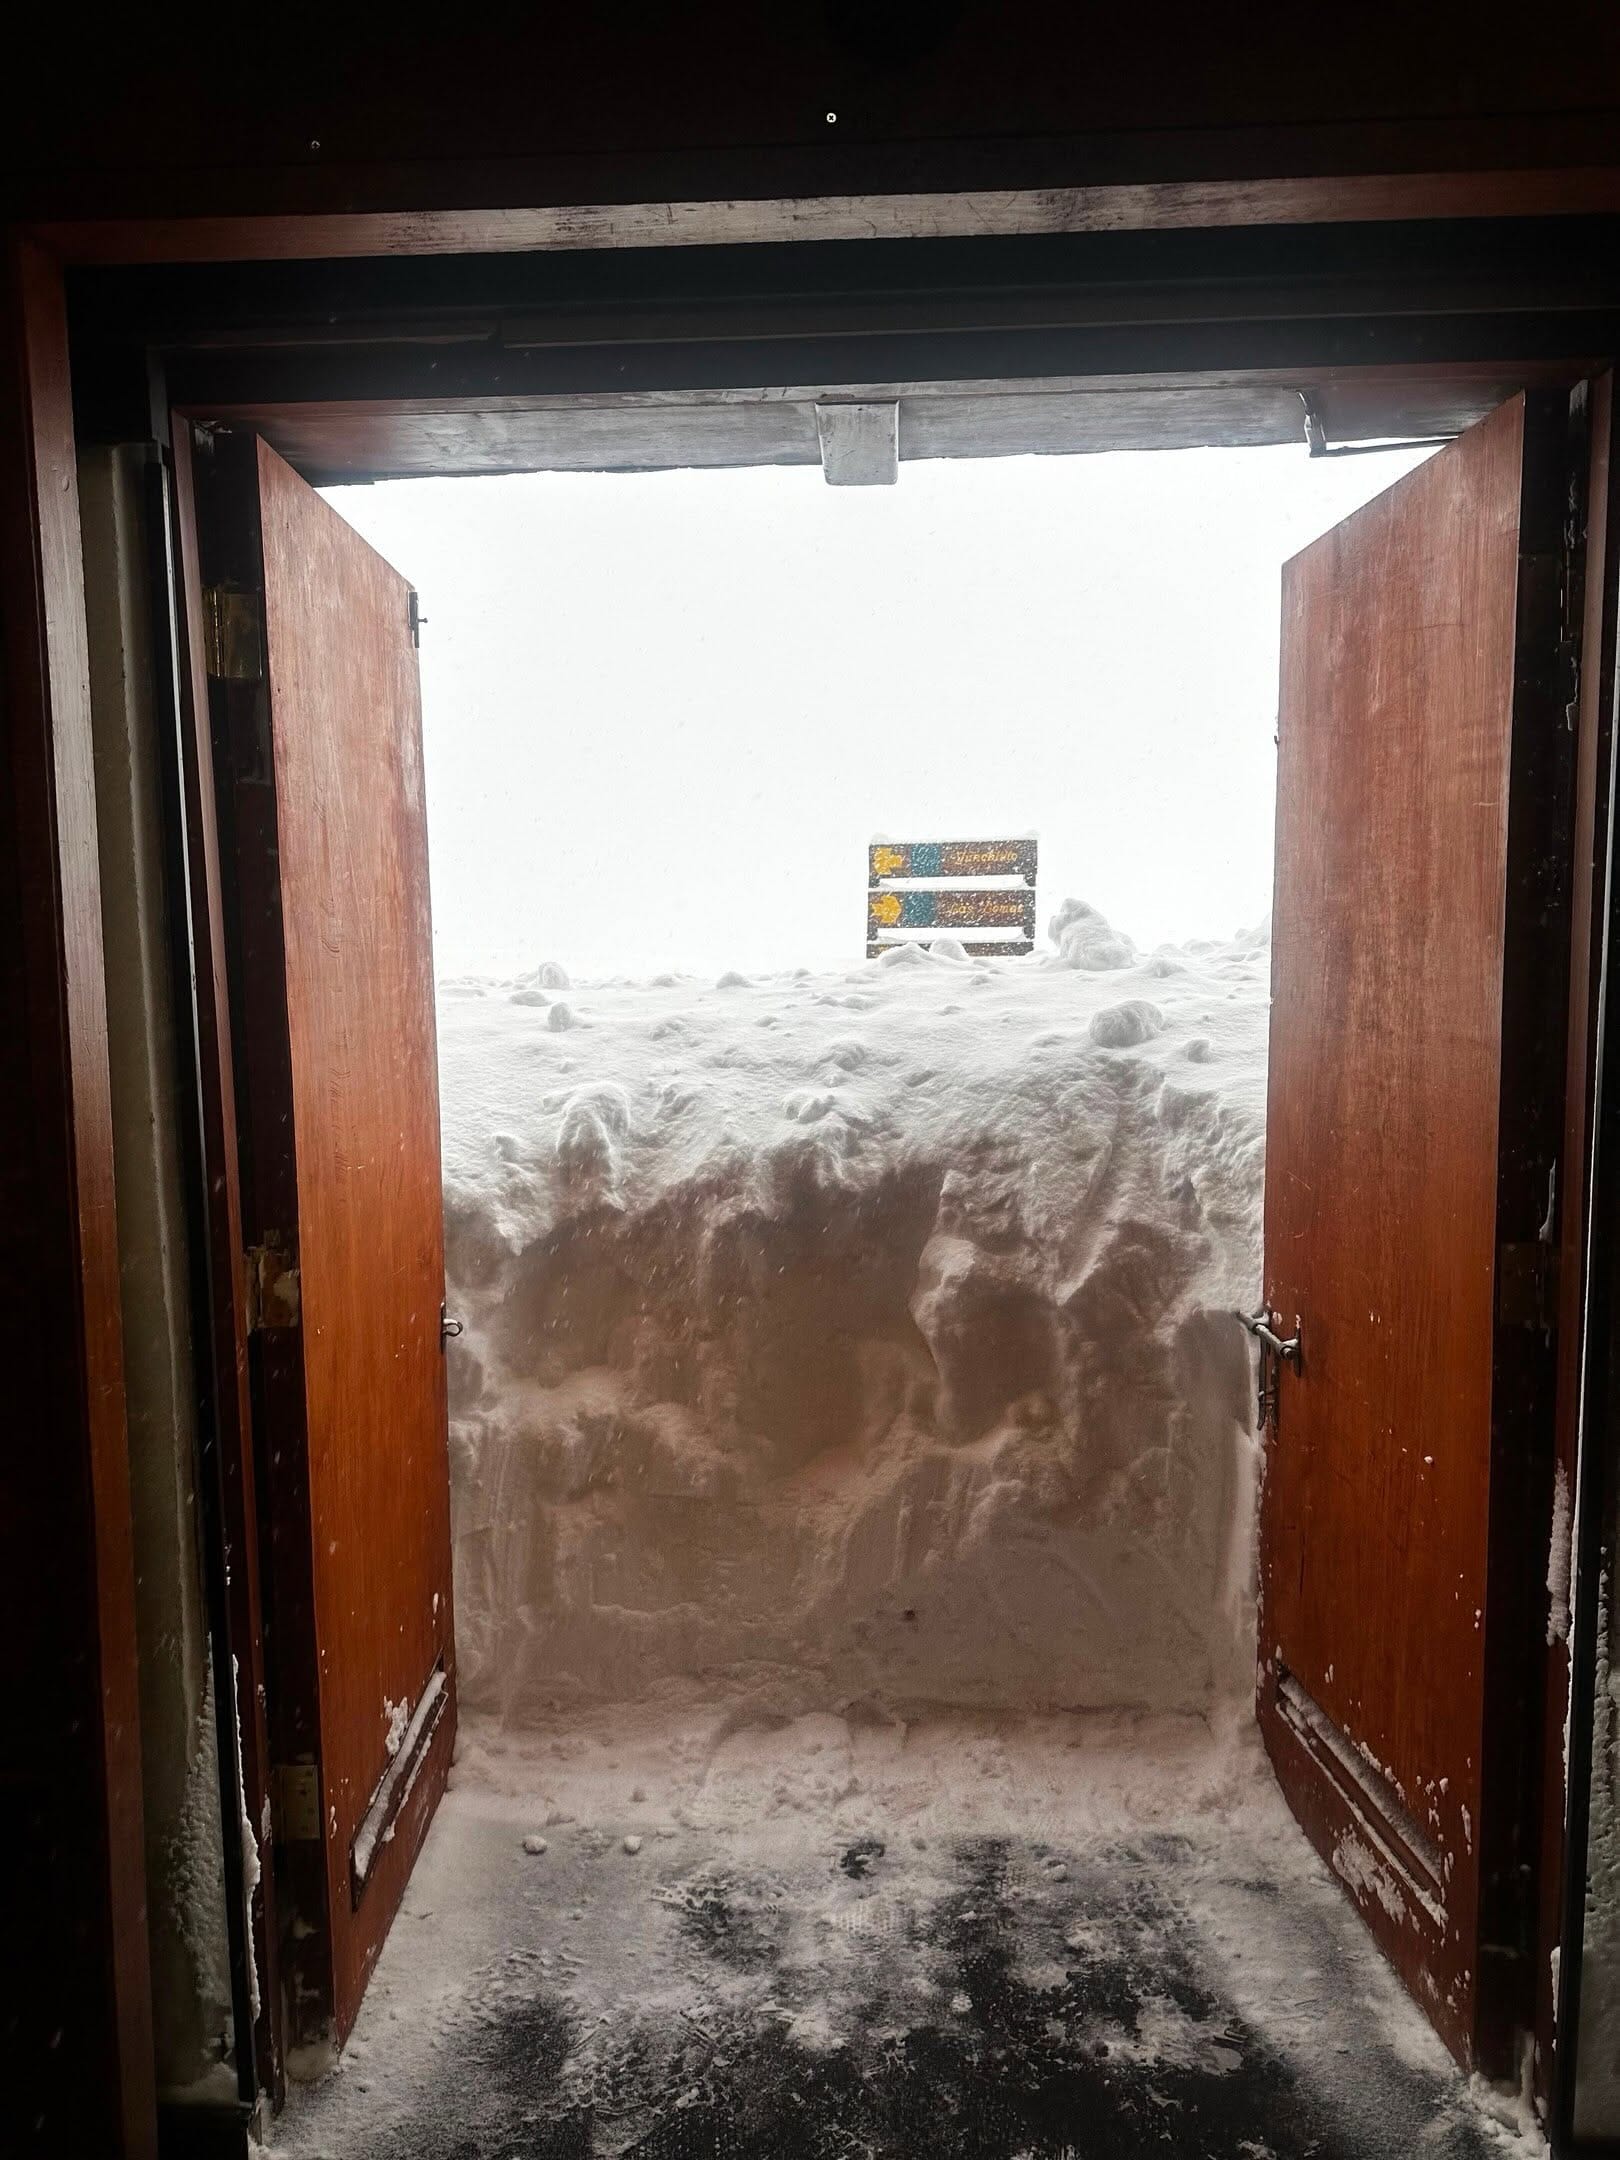
Weekly Snow News for Southern Hemisphere, updated 30 July 2026: South America’s remarkable comeback continues with resorts topping 6m (20ft) of snowfall, while New Zealand gains 40cm (16") and Australia battles another warm week.